In the traditional Windows deployment world we used to worry about images a lot. Autopilot deployment has reduced but not completely eliminated the need for an organisation specific base image.
In this post I will explain why a good base image is still required and how you can create your own base image from Windows 10 media.
A History Lesson
First, a brief history lesson on Windows imaging.
Early 1990’s - Xcopy Deployment
The first efforts at imaging Windows were XCopy batch files that copied a pre-setup version of Windows 3.1 from a network location.
Late 1990’s - Ghost and Golden Images
Ghost and other imaging technologies like Alteris were a huge step forward in the Windows NT era because you could reliably deploy a golden image to multiple computers.
Golden images were high maintenance and in the early days you had to manually change the Machine SID of every device you deployed.
Early 2000’s - SysPrep
The Microsoft SysPrep utility was available in Windows NT but was not commonly used until Windows 2000 appeared.
SysPrep cleaned up the Operating System prior to taking an image, including forcing the generation of a new Machine SID. Golden Image creation was simplified and the deployment of images to new devices was much more reliable.
Mid to late 2000’s - SCCM and MDT
The next big leap forward was the advent of SCCM (System Center Configuration Manager) and MDT (Microsoft Deployment Toolkit) deployments of Windows XP and Windows 7. Suddenly a huge range of tools to customize deployments were available to Windows build shops.
The Enterprise grade Windows build was born in this era. Huge amounts of time and effort were spent on building Windows 7 deployments. Heavy customization of the image and/or task sequences used for Windows deployment was common place.
Late 2010’s - Windows as a Service
When Windows 10 first arrived, many deployment shops treated Windows 10 deployment like they treated Windows 7.
Heavy customization and security lock-down to the Nth degree
Deployment using the same old-style Config Manager OSD task sequences that were used for Windows 7
In place upgrades or automated re-imaging for deployment
A lot of the Windows 10 upgrade projects ground to a crashing halt when the first Feature Updates for Windows 10 appeared. The Anniversary Update (1607) was treated like a service pack and just got tacked onto the existing build. But, when the Creators Update (1703) appeared, the flaws in the old methods quickly became apparent.
Overnight we had to work in a world where there was a major update to Windows every six months. The image deployment system collapsed due to the effort required to maintain a complex image that needs to change frequently rather than every three years. It was clear that a new approach was required.
2017-2018 - Windows 10 Autopilot
Windows 10 Autopilot was designed to replace and simplify the traditional imaging methods by doing away with the image completely. In the modern era we can enroll a device into corporate management straight from the factory image.
Deployment Nirvana - Not Quite
Windows 10 Autopilot is my favorite cloud technology. I love deploying new devices from a collection of policies, apps and scripts managed by the cloud. I also loved the freedom from highly customized (and usually broken) corporate images.
However, after a few big deployments, it became clear to me that Enterprise Autopilot deployment is not completely image free. The following problems need to be overcome.
Factory Images are Awful
A lot of the OEM factory images are awful. They are usually a much older Feature Release than desired and are full of software crud that you do not want to provide to end users.
Feature and Quality Updates Matter
Autopilot on Windows 10 1909 and 2004 is fairly stable but we had a torrid time with 1903. A series of Quality updates fixed a number of issues and if you did not have the Quality updates on the device during OOBE then your enrolment was going to fail.
Drivers, Drivers, Drivers
It takes a surprisingly long time for drivers for relatively mainstream hardware to be included with the default WIM/ESD. The Microsoft build media from either the media creation tool or the Volume Licensing portal lack a lot of the required drivers.
You could run a driver update during or post build. There are some excellent solutions, including Maurice Daly’s Driver Automation Tool [LINK] but you will find that some drivers are needed early in the Out Of Box Experience (OOBE) setup. Examples of the kinds of drivers that you need include
Keyboard drivers for exotic devices (looking at you Surface Book!)
Network drivers for Ethernet and WiFi
Biometric compatible camera drivers for Windows Hello for Business
Autopilot Image Requirements
So we still need an image for autopilot but the image needs to be ultra lightweight. These are the criteria that I use when creating an Autopilot base image
Use the Windows 10 vanilla media (Media Creation tool or Volume License portal)
Include the specific drivers for the hardware being deployed
Use the current Feature Release and include any Quality KB’s required for Autopilot
Zero corporate customization
The end product is a Windows 10 USB build stick that looks and behaves exactly like a standard Windows 10 USB build stick but includes the correct drivers for your target device.
I would advise using for a one image - one device strategy rather than trying to dump all your device drivers onto a single image. It depends on the homogeneity of the hardware estate, but there are driver crossover problems between devices even on devices from the same OEM.
Creating a Custom Install ESD
Windows 10 media uses the ESD format to store the Windows installation files. Drivers need to be added to the Installation ESD to satisfy your requirements for a custom image.
The following steps are required to create a custom Windows 10 ESD with a special driver load.
Obtain Windows 10 vanilla media
Prepare a driver repository
Unpack the vanilla WIM
Add the drivers
Repack the updated WIM to ESD
Copy the ESD back to installation media.
Vanilla Media
You can obtain Windows 10 installation media from either
The Windows 10 Media Creation Tool [LINK]
The Volume License portal if you are a Volume License customer
Personally, I prefer the Windows 10 Media Creation Tool because you get a fairly up to date Windows 10 image. Microsoft periodically update the Media Creation Tool during the life cycle of a Feature Release so you usually get key updates slip-streamed into the image.
Prepare a Driver Repository
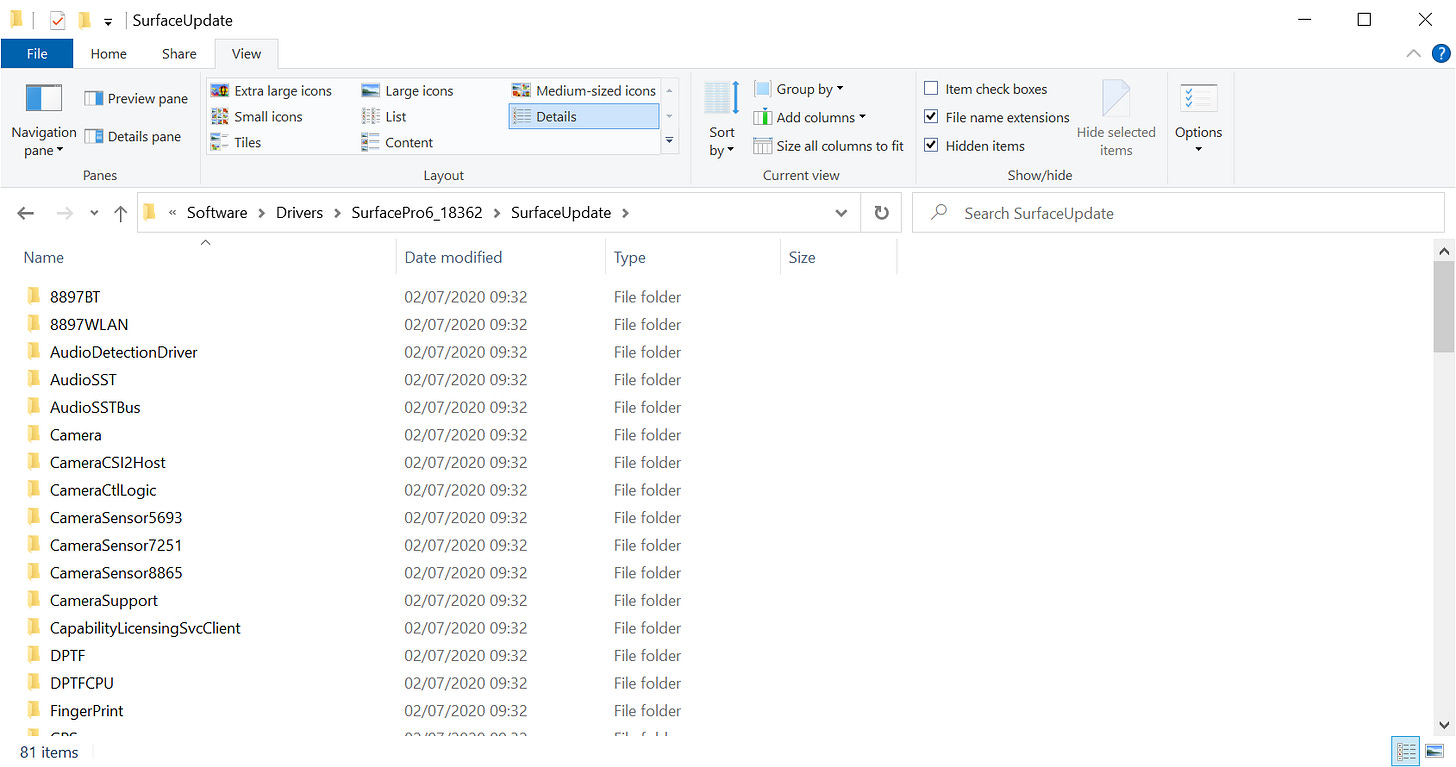
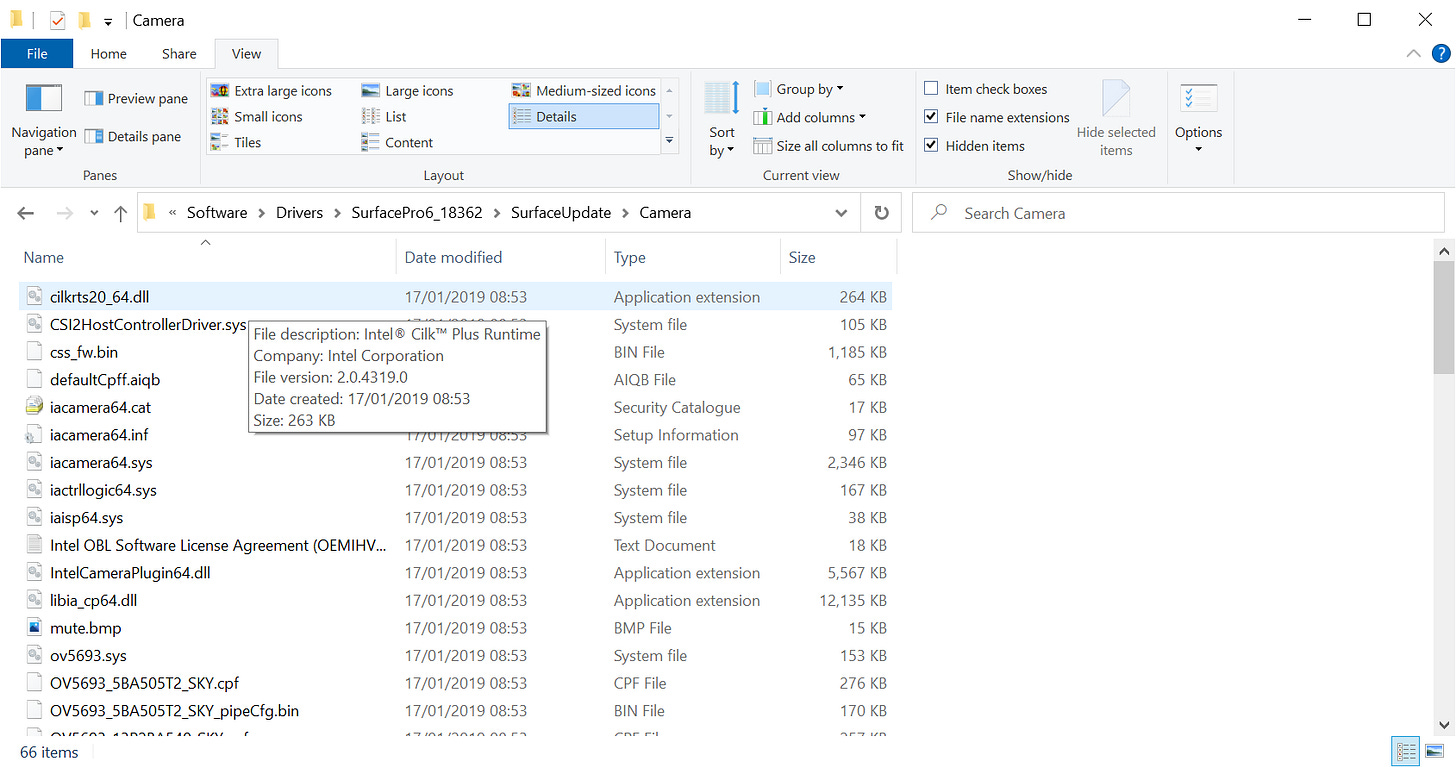
A driver repository is a folder with an unpacked collection of drivers. You can obtain the drivers from the OEM in whatever installation format they supply; However, you will need to unpack MSI or EXE installation packages to get to the raw drivers.
The folders below show the unpacked drivers for a Microsoft Surface Pro 6.
Unpack the Install WIM File
Carry out the following steps to unpack the Install WIM.
First, identify the index of the image that you need. ESD files commonly have multiple Images within the ESD that correspond to different editions of Windows.
Identify the index of the Windows 10 Pro Image using this PowerShell command
Get-WindowsImage -ImagePath <Drive Letter>\Sources\Install.esd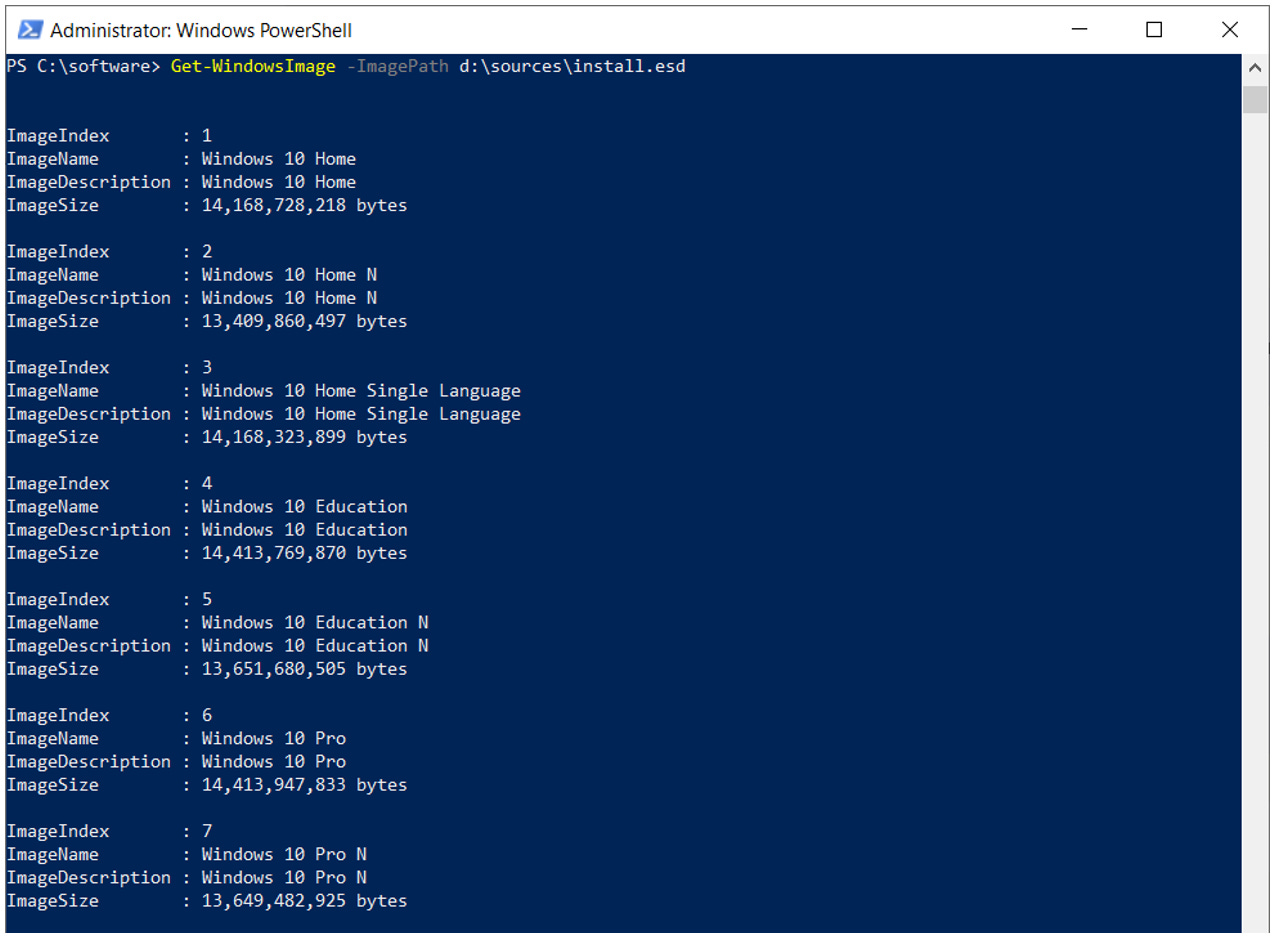
You usually want the image named Windows 10 Pro for most deployments. In this case the Image Index is 6.
Second, export the WIM image from the ESD file with the following PowerShell command.
dism /export-image /SourceImageFile:<Drive Letter> \sources\install.esd /SourceIndex:<IndexNumber> /DestinationImageFile:<working location>\wim\install.wim /Compress:max /CheckIntegrity

Add Drivers to the Install WIM
Carry out the following steps to add drivers to the Install WIM.
1) Use the following PowerShell command to mount the WIM image
Mount-WindowsImage -Path <Mount path> -ImagePath <working location>\wim\install.wim -Index 1

2) Add the drivers from the repository to the image with the following PowerShell command
Add-WindowsDriver -Path <Mount path> -Driver <Driver Path> -Recurse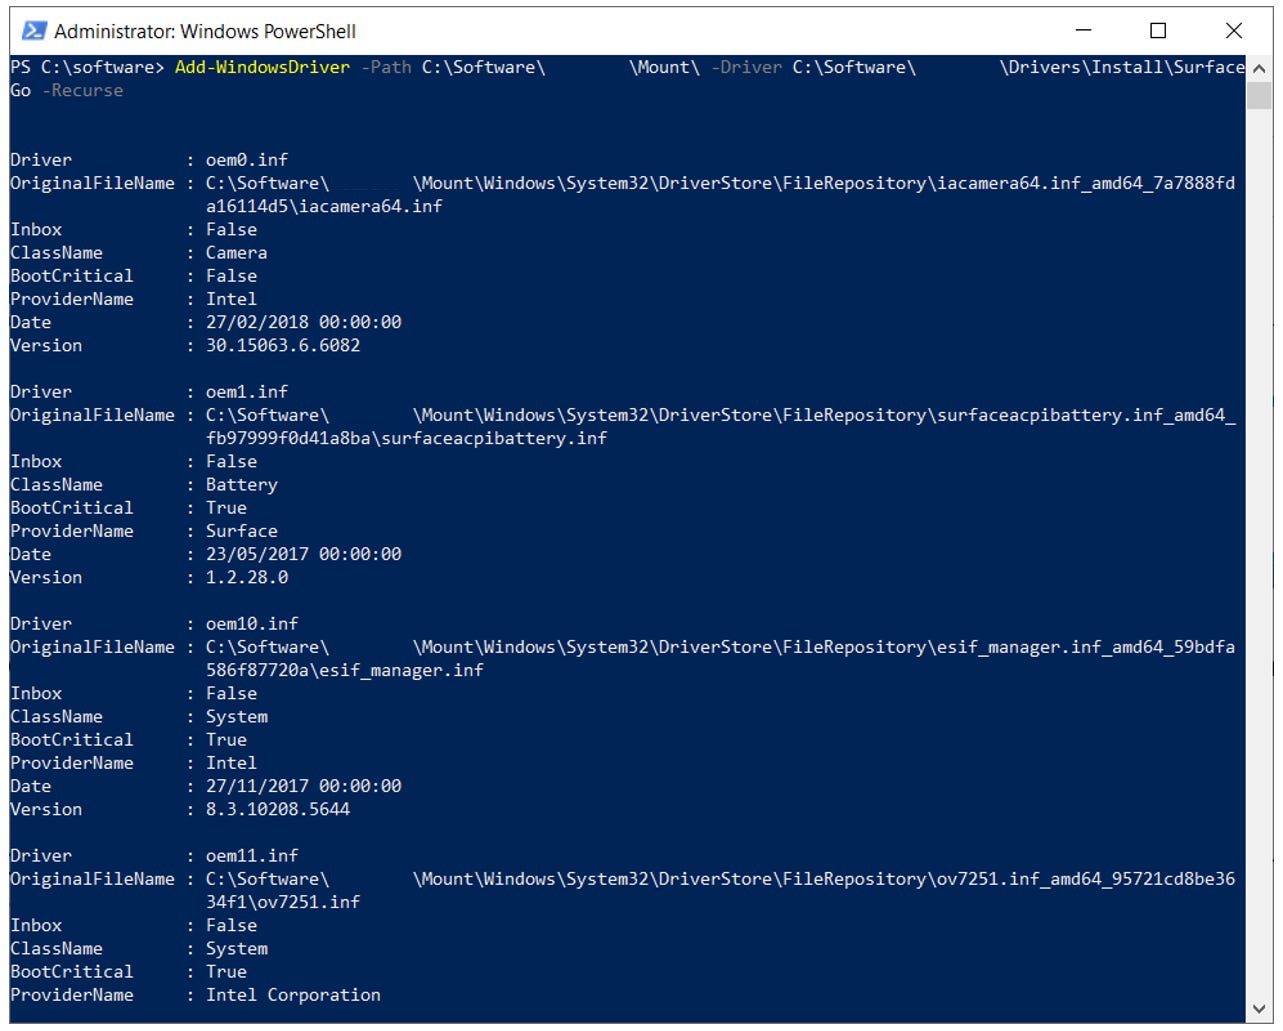
The driver addition will take a while (up to 10 minutes depending on the number of drivers). The command is recursive so the command will search through the folder structure from the supplied root path for all the drivers that need to be added.
3) Use the following PowerShell command to dismount and save the WIM image
Dismount-WindowsImage -Path <Mount path> –Save

Repack the Updated Install WIM to ESD
The Install WIM file needs to be converted back to ESD format before the updated installation image can be copied to a USB boot stick.
Use the following PowerShell command to repack the ESD image.
DISM /Export-Image /SourceImageFile:<working location>\wim\install.wim /SourceIndex:1 /DestinationImageFile:<working location>\wim\install.esd /Compress:recovery
Copy the ESD Back to Install Media
Once you have an unpacked ESD file then you can copy the ESD file on to a USB build stick. Copy the ESD to the Sources directory on the USB stick. Make sure the ESD file is called install.esd.
Creating a Custom Boot WIM
The boot.wim file loads the initial Windows 10 setup (the WinPE type setup phase). You only need to update the Boot WIM file if the device hardware has an unusual driver that needs to be loaded during intial setup (I.E. keyboard drivers).
This section will explain the process for adding drivers to a Boot WIM.
Obtain a Boot WIM
Obtain a Boot WIM from the Windows 10 installation media. Copy the Boot WIM to a convenient location.
Check Boot WIM Images
All Boot WIM images should contain two images. Check the images on the Boot WIM with the following PowerShell command.
Get-WindowsImage -ImagePath <working location>\wim\boot.wim
Compile the Boot Drivers
Copy the driver files for the boot drivers that you need to add to a separate folder from your driver repository. The Boot WIM is a relatively small file so you cannot add every driver for a device into the Boot WIM.
Update Boot Images
Update both of the images on the BOOT WIM with the following steps. You will need to perform this process twice on both Index 1 and Index 2.
1) Mount the image with the following PowerShell command
Mount-WindowsImage -Path <Mount path> -ImagePath <working location>\wim\boot.wim -Index <index>
2) Add the boot drivers with the following drivers to the boot image with the following PowerShell command
Add-WindowsDriver -Path <Mount path> -Driver <Driver Path> -Recurse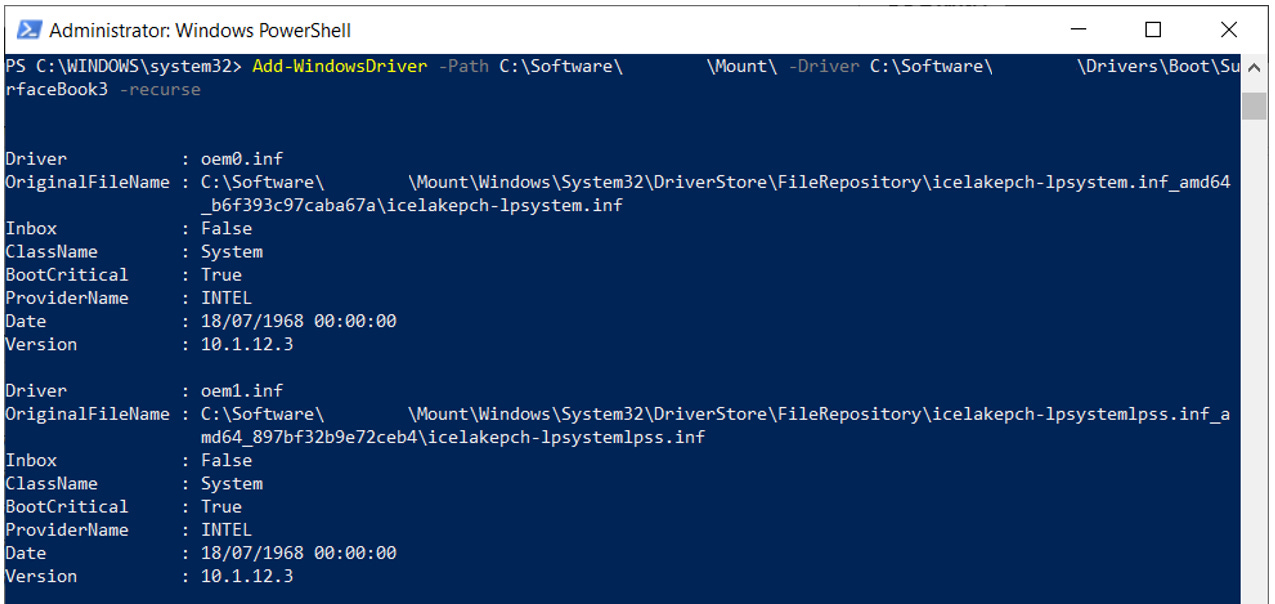
3) Dismount the updated boot image with the following PowerShell command
Dismount-WindowsImage -Path <Mount path> –SaveCopy the Boot WIM Back to the Install Media
Finally, copy the Boot WIM to the Sources directory on the USB stick. Make sure the WIM file is called boot.wim.


FYI, you will need this article if your install.wim file is larger than 4 GB, due to the limits in the FAT32 file structure: https://learn.microsoft.com/en-us/windows-hardware/manufacture/desktop/install-windows-from-a-usb-flash-drive?view=windows-11#if-your-windows-image-is-larger-than-4gb
Thank you so much for this guide, incredibly helpful!
Hi, anybody know where is the boot.wim located on Dell laptops, i just want to add hard disk drivers to the default boot.wim .